The Photopia Blog
Tips, tutorials & inspiration for making slideshows
May 31, By Photopia
Adding a Banner under a Caption
Captions can be difficult to read when placed over an image that has varying light and dark areas. A common way to make captions easier to read is to add a banner underneath them.

To add a banner in Photopia, add a solid or gradient layer to your Layers List. In our example, we’ll add a Solid Layer.
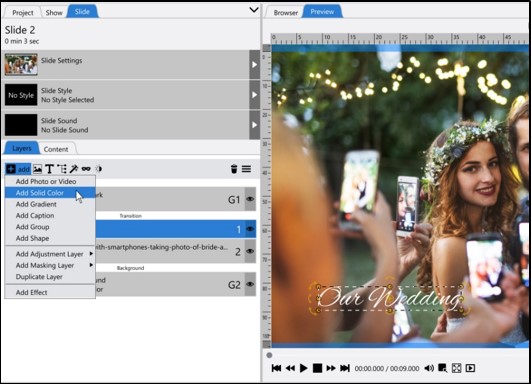
Choose a color that is the opposite of your text: choose a light color if you have dark text, choose a dark color if you have light text. In our example, we use the eye dropper tool to pick a dark color from the Groom’s vest.
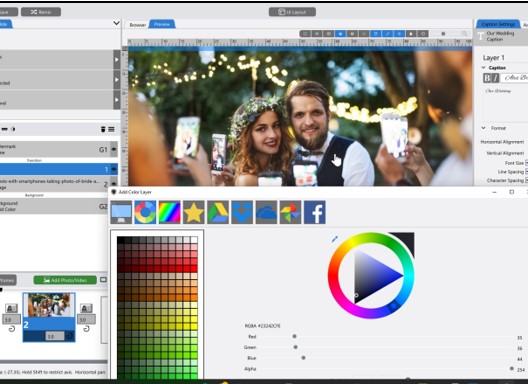
Once you have added your Solid or Gradient Layer, make sure that it is beneath your Caption Layer in the Layers List.
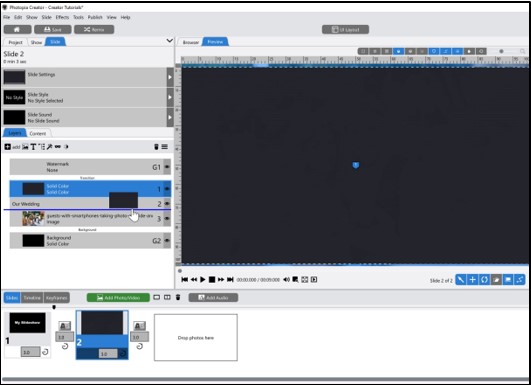
You can apply a Banner Shape to your Solid or Gradient Layer in two steps:
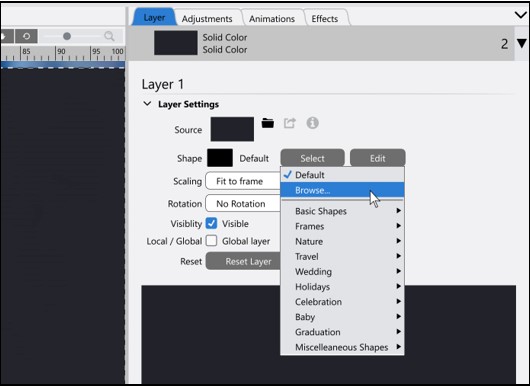
With your layer selected in the Layers List in the Navigation Panel (on the left side of the screen), click on the Select button next to the Shape settings in the Layer Tab in the Options Panel (on the right side of the screen), then click on Browse.
Scroll down until you see the four Banner Options and choose your favorite.
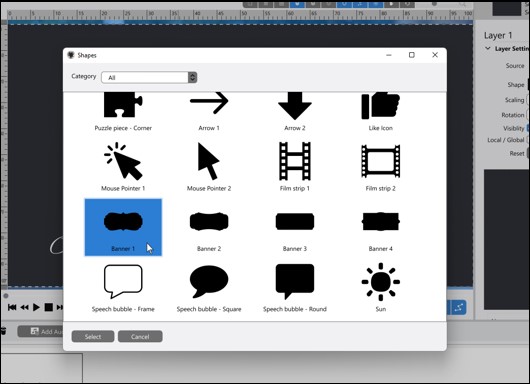
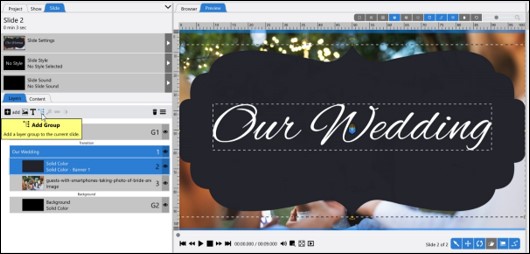
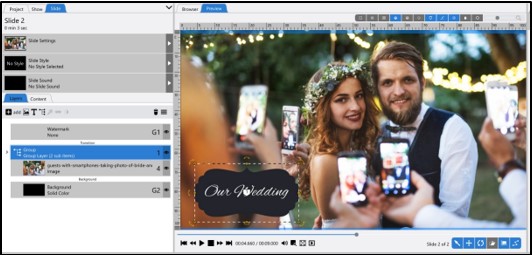
Reset your Caption layer to be in the middle of the banner and change the font size so that it fits within the Shape. It’s ok if this covers your image, we’ll resize and position them both in the next step.


